How to easily weld plastic with a plastic welder

Broken plastic is a common problem: cracked bumper, damaged tool case or broken plastic part.
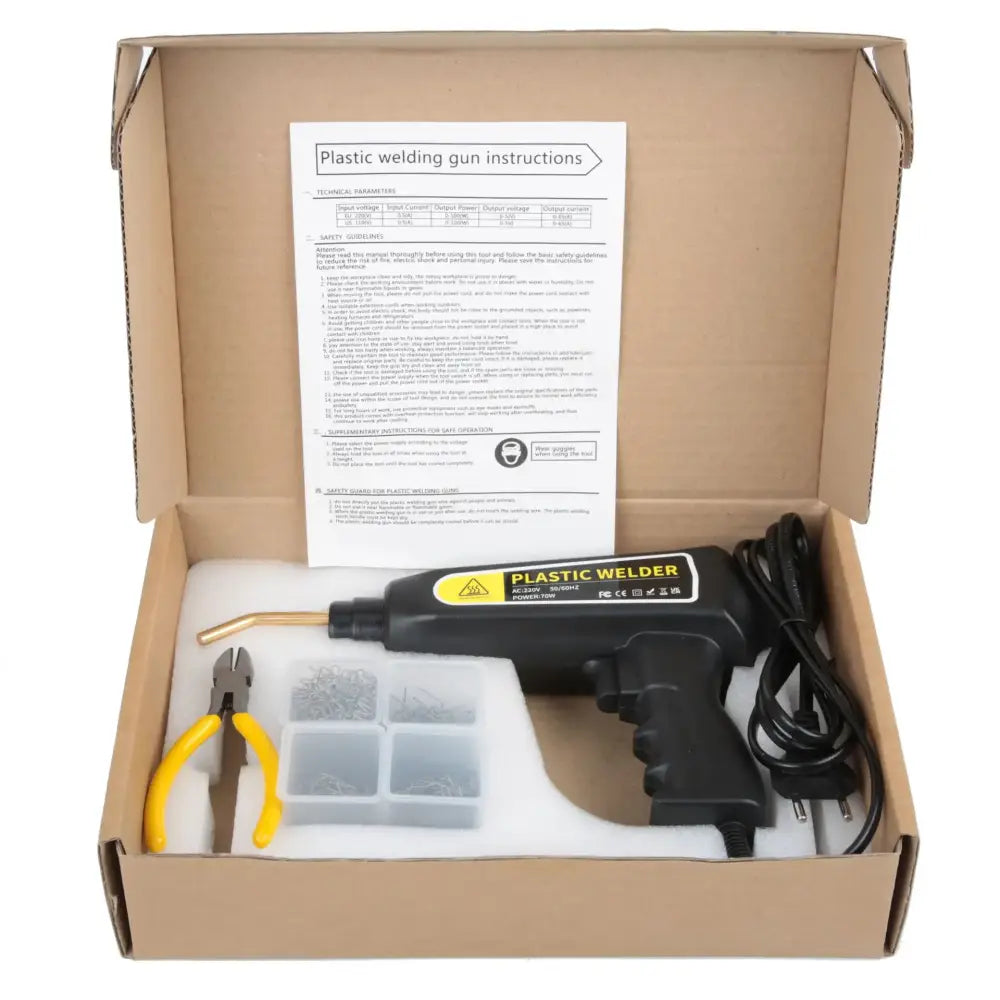
Fortunately, there is a simple and economical solution: the plastic welder .
This tool allows for quick repair of plastic cracks without the need to replace the part.
In this guide, discover how to easily weld plastic in just a few steps.
Why use a plastic welder?
The plastic welder heats metal staples which are inserted into the cracked plastic.
As they cool, they strengthen the structure and hold the two parts together .
The advantages:
- solid and durable repair
- quick and easy to use
- savings on parts replacement
- Ideal for bumpers, fairings and plastic objects
How to easily weld plastic: the steps
1. Clean the area
Before starting, clean the crack to remove dust and grease.
A clean surface improves the quality of the repair.
2. Heat the plastic welder
Turn on the welder and insert a staple suitable for the crack.
The machine heats the staple so that it can penetrate the plastic.
3. Insert the staple into the crack
Place the heated staple directly into the crack and press lightly.
The plastic melts around the staple and solidifies the repair .
4. Let it cool
Wait a few seconds for the plastic to cool down.
The part is now repaired and reinforced .
If necessary, you can add more staples for an even stronger repair.

A simple solution for repairing plastic
With a plastic welder , repairing a cracked part becomes quick and accessible to everyone.
Whether it's for:
- a car bumper
- a motorcycle fairing
- a broken plastic object
This tool allows for a lasting repair in minutes .
👉 Discover the plastic welder:
https://www.manuzen.fr/products/nouvelle-machine-a-souder-le-plastique-reparation-de-pare-chocs-de-voiture-soudeur-plastifieuse-thermique-reparation-de-pare-chocs-avec-400-pieces-boite-a-outils-de-reparation-de-fissures-en-plastique-pour-ongles