How to use a badge maker: a complete tutorial for beginners (25, 32, 58 mm)
You have just bought a badge press and are looking for how to use a badge machine (complete tutorial) ?
Good news: even if you are a beginner, it is quick to learn thanks to an ergonomic arc-shaped handle and a system of aligned matrices.
Here is the step-by-step guide to successfully earning your badges on your first try.
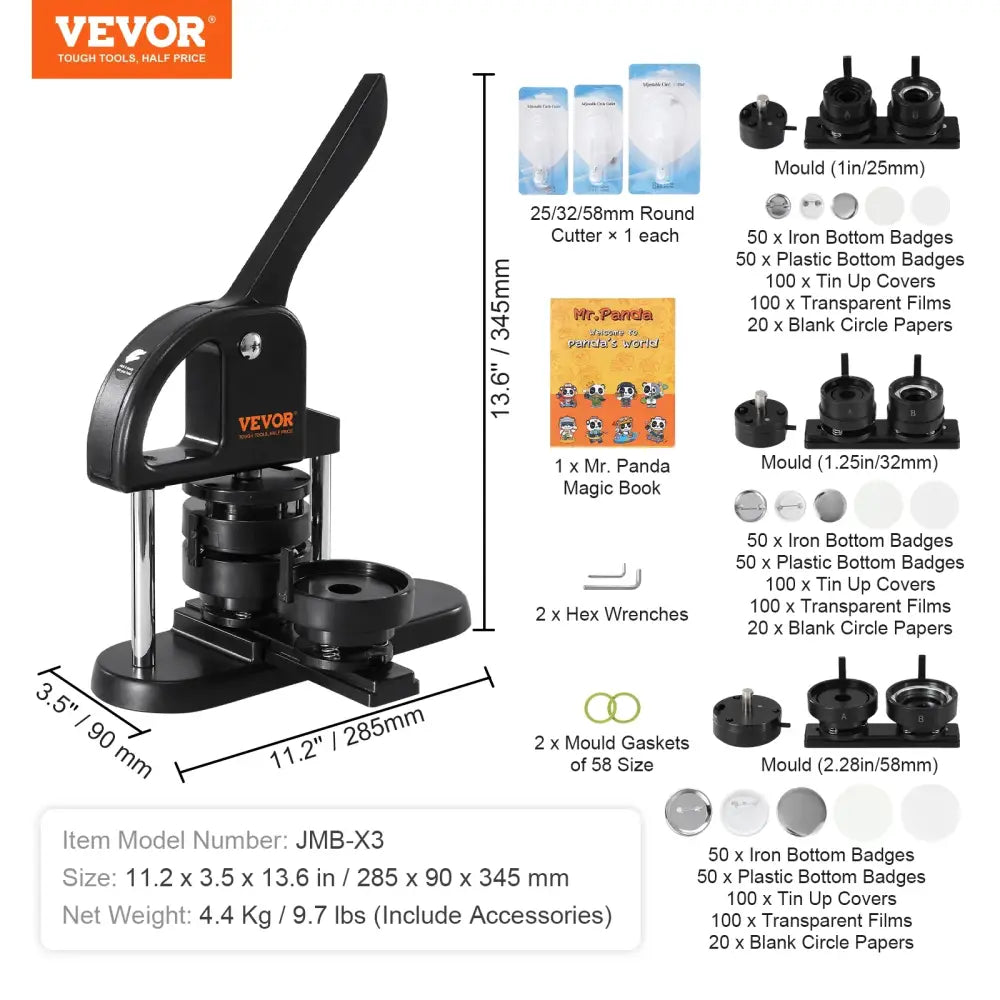
✅ Step 1: Check the kit contents

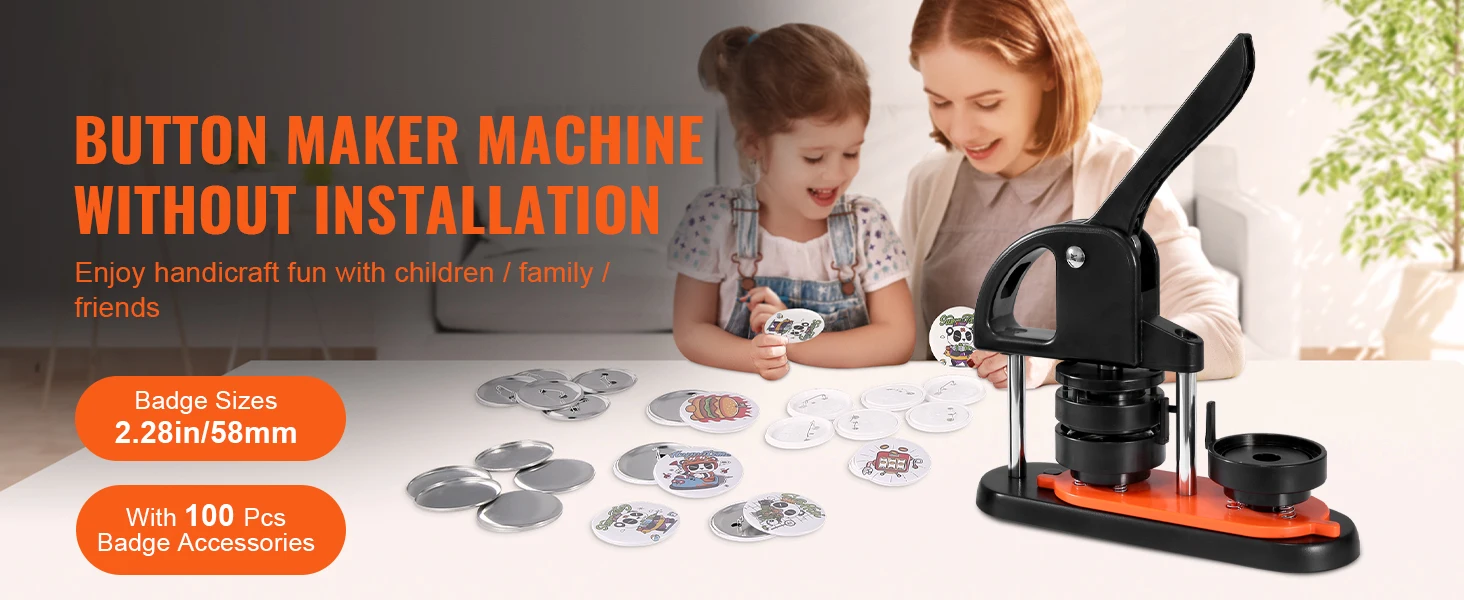
Your machine typically includes:
- Heavy-duty manual badge press
- Interchangeable molds (25 mm / 32 mm / 58 mm)
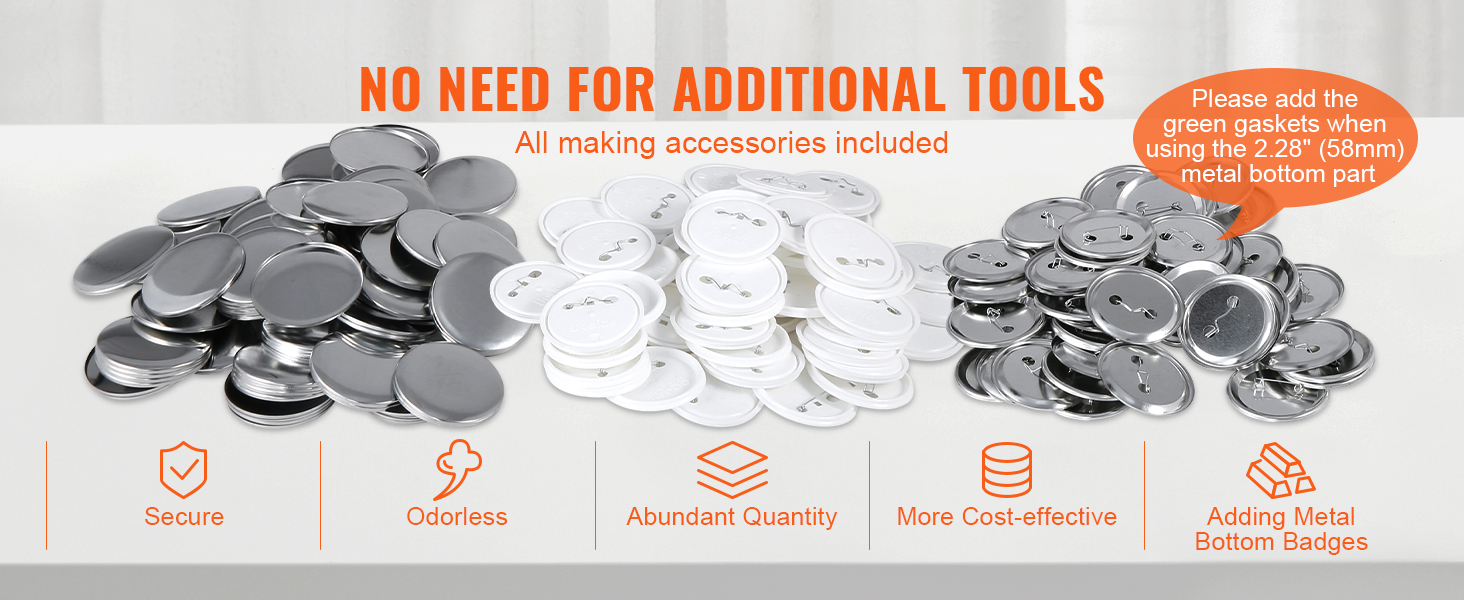
- Metal shells
- Backgrounds with pins
- Transparent plastic films
- Circle cutter
- Hex keys
Before you begin, make sure you have chosen the correct diameter.
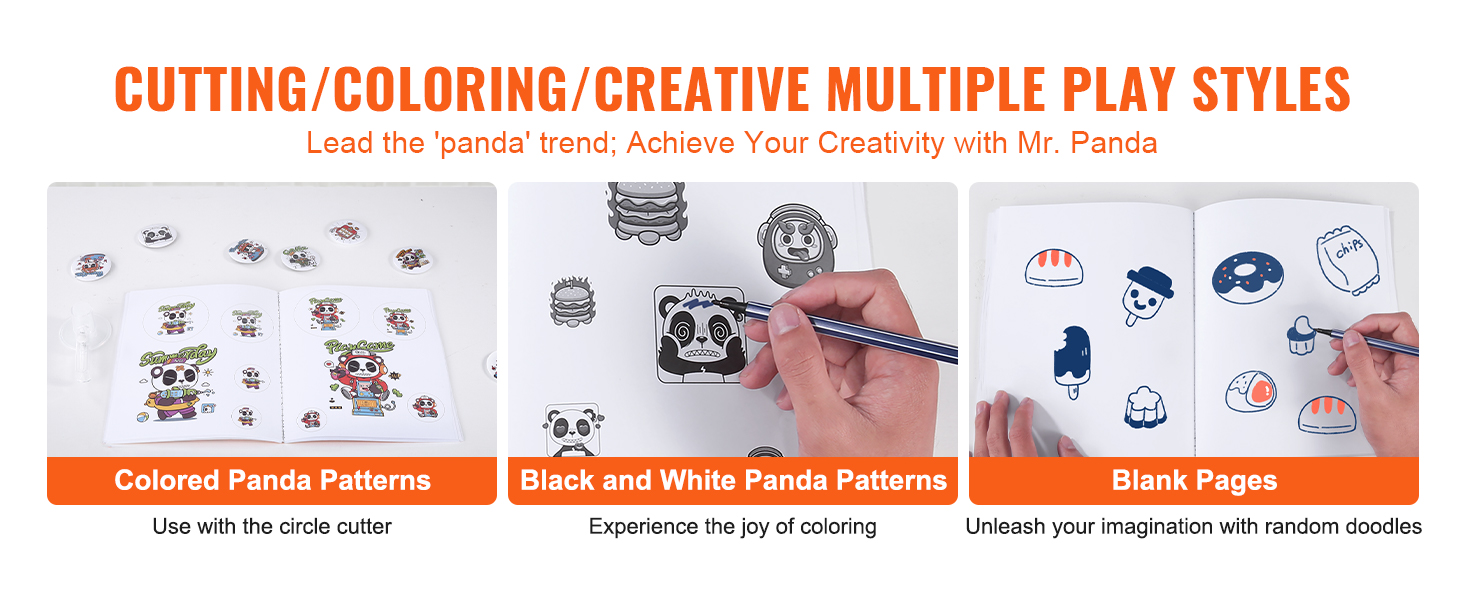
🎨 Step 2: Prepare your visual properly
For a perfect badge:
- Create your design to the correct diameter (e.g., 58 mm).
- Allow a slight overhang (2-3 mm) for crimping.
- Cut cleanly with the circular cutter provided.
Tip: 120–160g paper gives an excellent result without adding thickness.
⚙️ Step 3: Install the components in the machine
In the first matrix:
- Place the metal shell (hollow side up).
- Add your image to the center.
- Place the clear plastic film over it.
Check the alignment using the mold positioning mark.
🏗 Step 4: Crimping the badge
- Turn the base towards the first station.
- Lower the arc handle in a firm, smooth motion.
Uniform pressure ensures a clean and crease-free crimp.
🔄 Step 5: Attach the back of the badge
- Place the base with the pin in the second matrix.
- Turn the base.
- Lower the handle again.
Your badge is complete ✔️
🔍 Tips to avoid common mistakes
❌ Poor centering → misaligned badge
❌ Paper too thick → incomplete crimping
❌ Insufficient pressure → badge not properly closed
✔️ Always check that the case is properly clipped in after the first press.
✔️ Clean the matrices regularly for optimal results.
📏 What diameter should I choose?
- 25 mm → Ideal for school / discreet
- 32 mm → Versatile format
- 58 mm → Events / High Visibility
A machine compatible with multiple sizes allows you to expand your creations.
🚀 Why choose a robust badge machine?
A stable press with an ergonomic handle:
- Reduces fatigue
- Improves accuracy
- Reduces misfires
- Enables rapid production
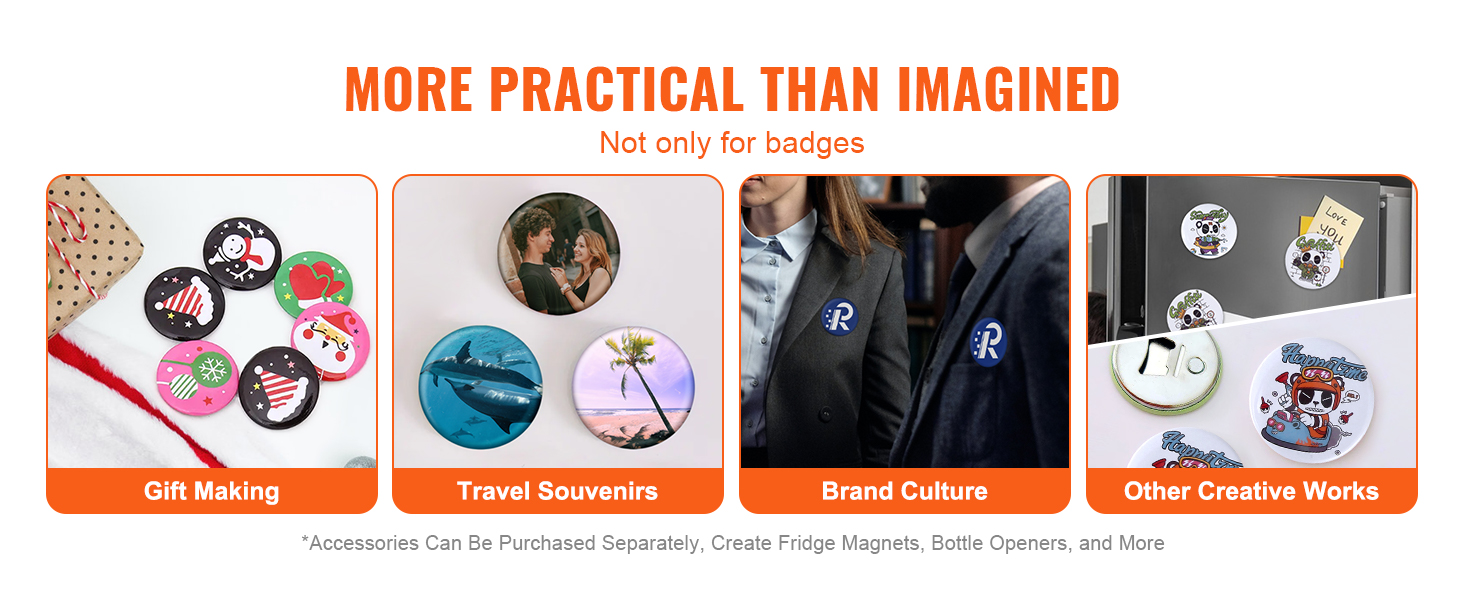
Ideal for:
- Associations
- Schools
- Creators
- Events
- Personalized gifts
Conclusion
Learning how to use a badge machine (tutorial) is simple if you follow these steps:
- Prepare the visual
- Position correctly
- Apply steady pressure
- Secure the back
In just a few minutes, you get a ready-to-wear professional badge.