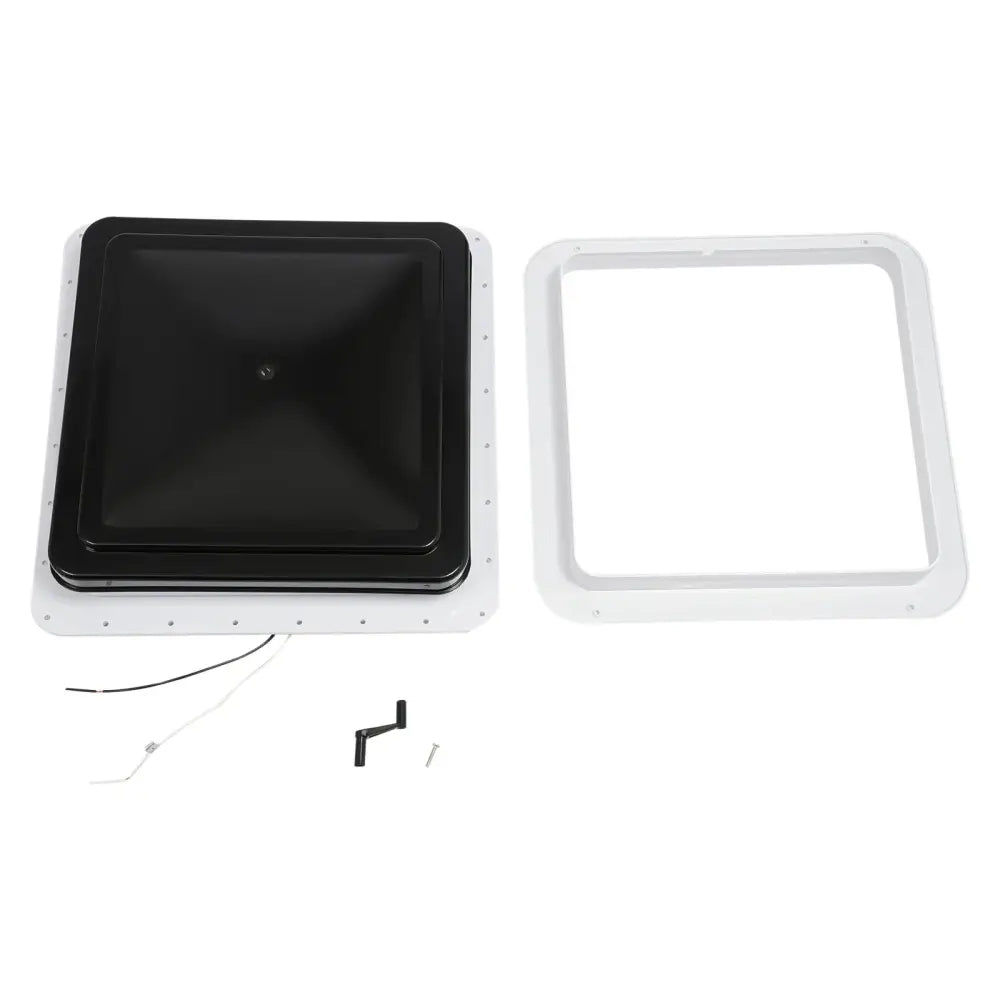
How to easily install a 40x40 motorhome skylight
Installing a 40x40 camper van skylight improves ventilation, light, and comfort in your vehicle. Good news: installation is relatively simple and can be done yourself with a few tools.

In this guide, discover how to install a 40x40 camper van skylight step by step.
Required equipment
Before starting the installation of the 40x40 camper van skylight, prepare:
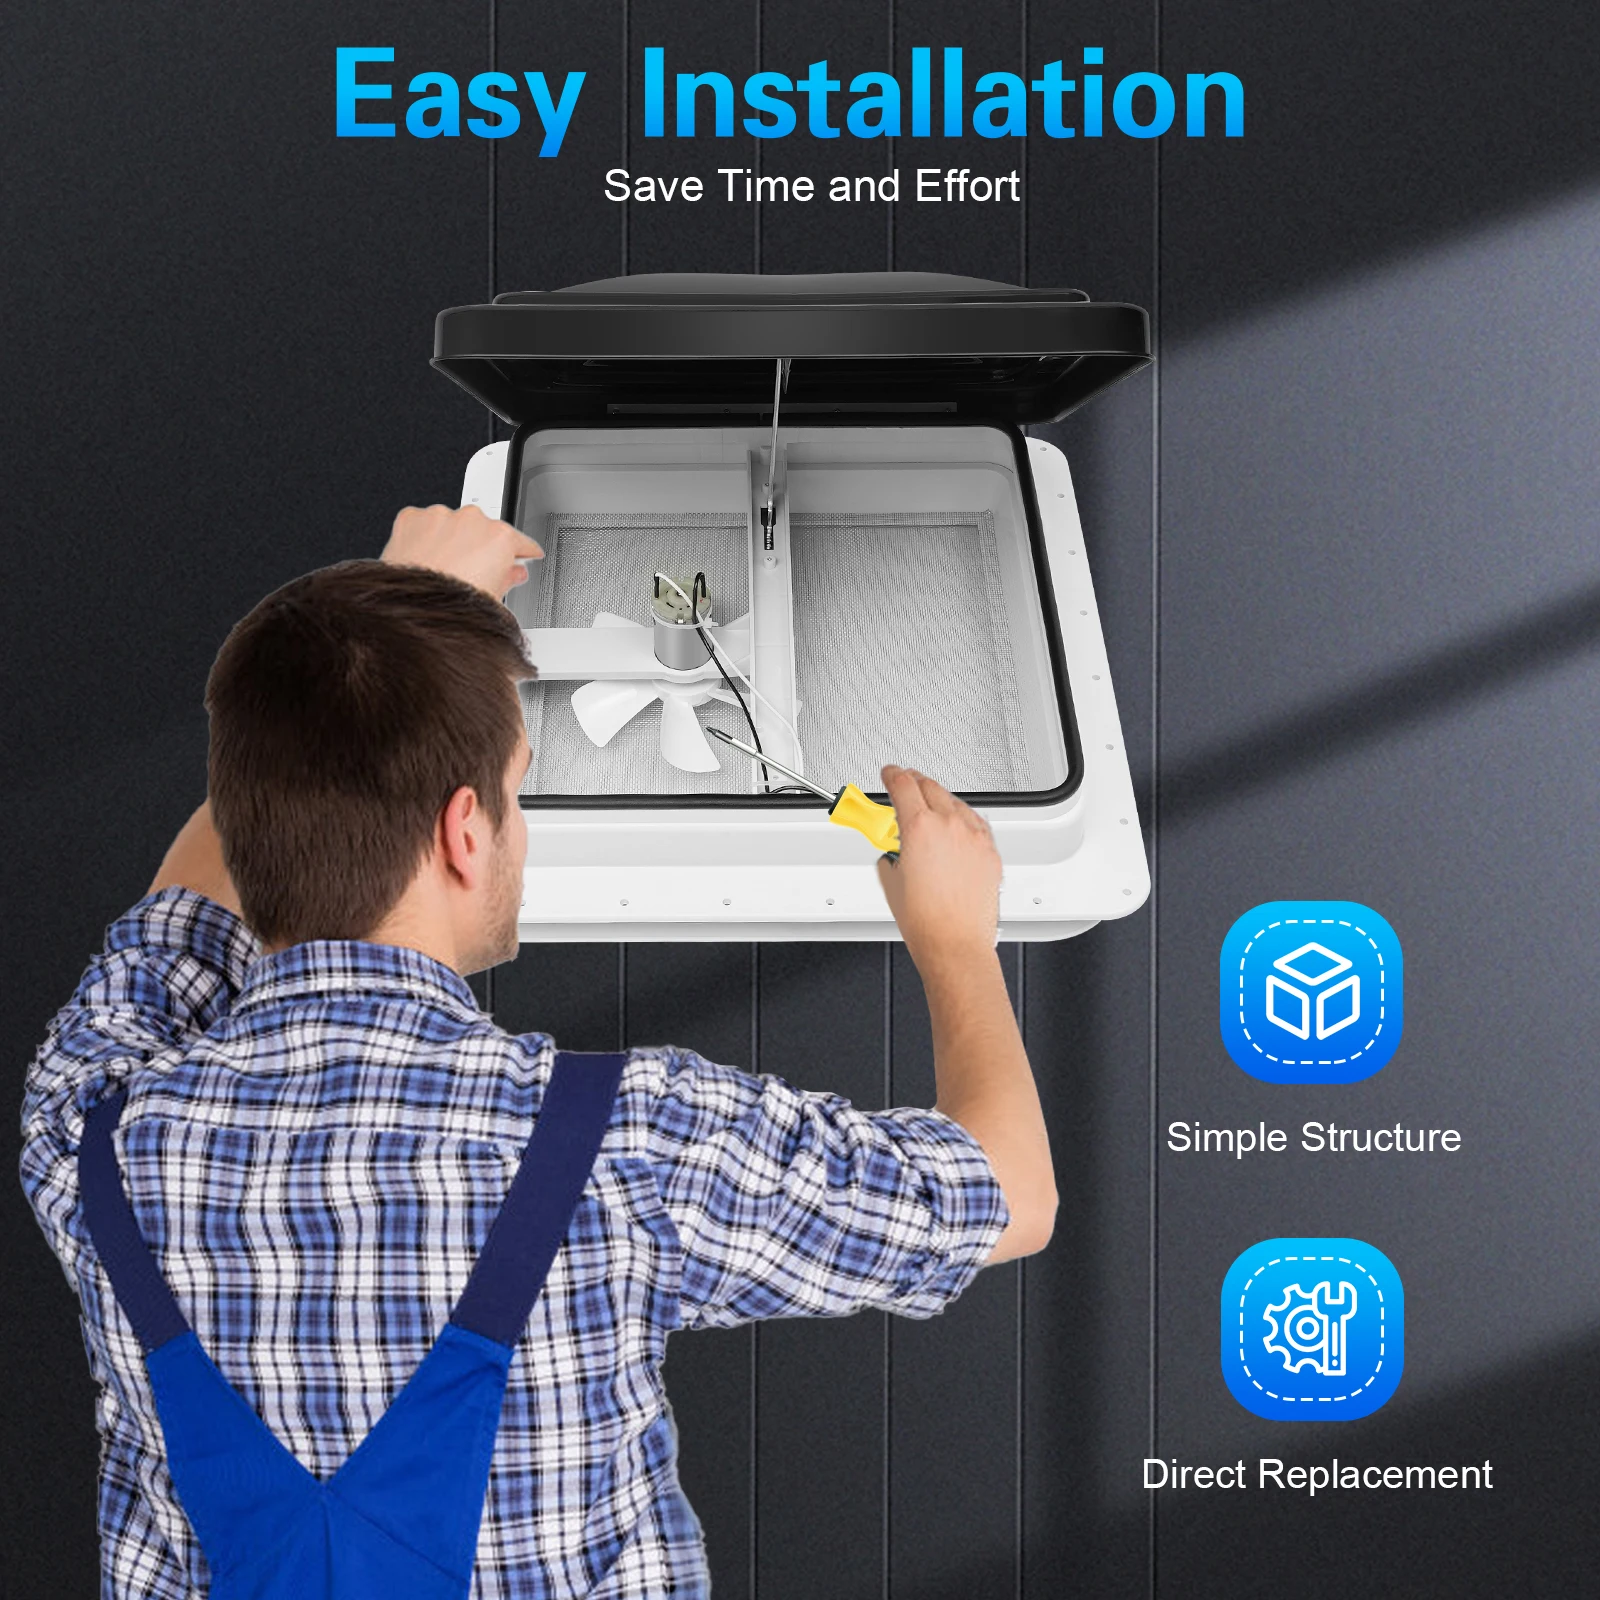
- screwdriver
- drill
- fixing screws
- sealing mastic (butyl or silicone type)
- cloth to clean the surface
1. Prepare the roof opening
Check that the roof opening corresponds to the standard 40x40 cm format.
If you are replacing an old skylight, remove the screws and clean the surface thoroughly to ensure a good seal.
2. Position the skylight
Place the skylight on the roof opening, aligning the frame correctly.
Apply a sealant mastic bead around the frame to prevent any water infiltration.
3. Secure the skylight frame
Screw the outer frame to the camper van roof using the pre-drilled fixing holes.
Gradually tighten the screws to distribute pressure and ensure a stable and watertight installation.
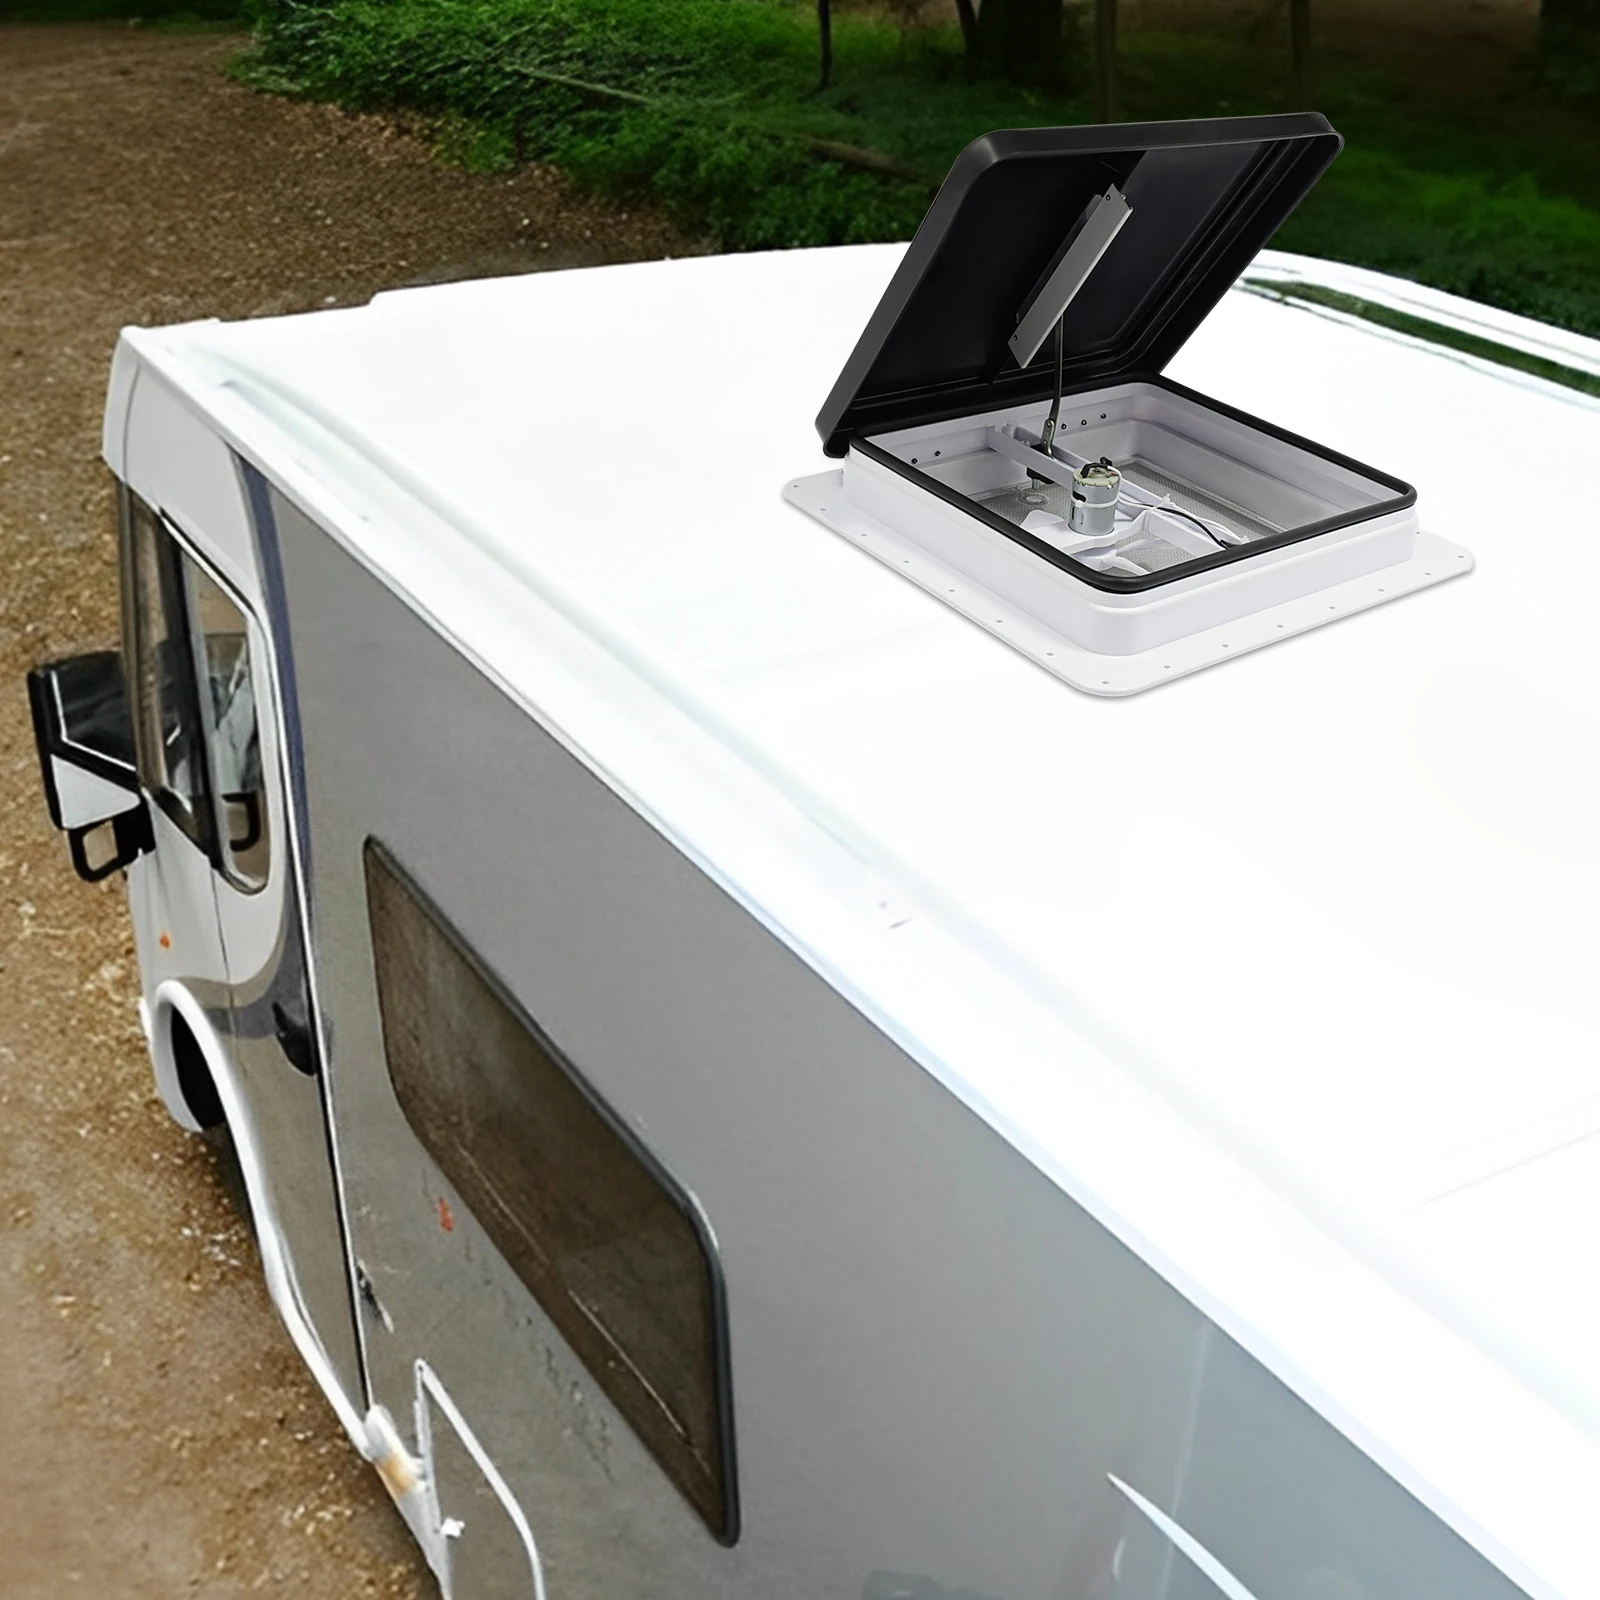
4. Install ventilation and fan
Some models have an integrated fan to improve air circulation.
Simply connect the wires to the designated power supply (often 12V) then secure the system into the frame.
5. Check opening and closing
Test the skylight's push-pull mechanism:
- easy opening
- correct closing
- mosquito net well positioned
This ensures effective ventilation for the camper van.
Conclusion
Installing a 40x40 camper van skylight is a quick operation that improves the ventilation and comfort of your vehicle. With a few tools and a good sealant, you can replace or install your skylight in less than an hour.
👉 Discover our 40x40 camper van skylight with ventilation and mosquito net on Manuzen.