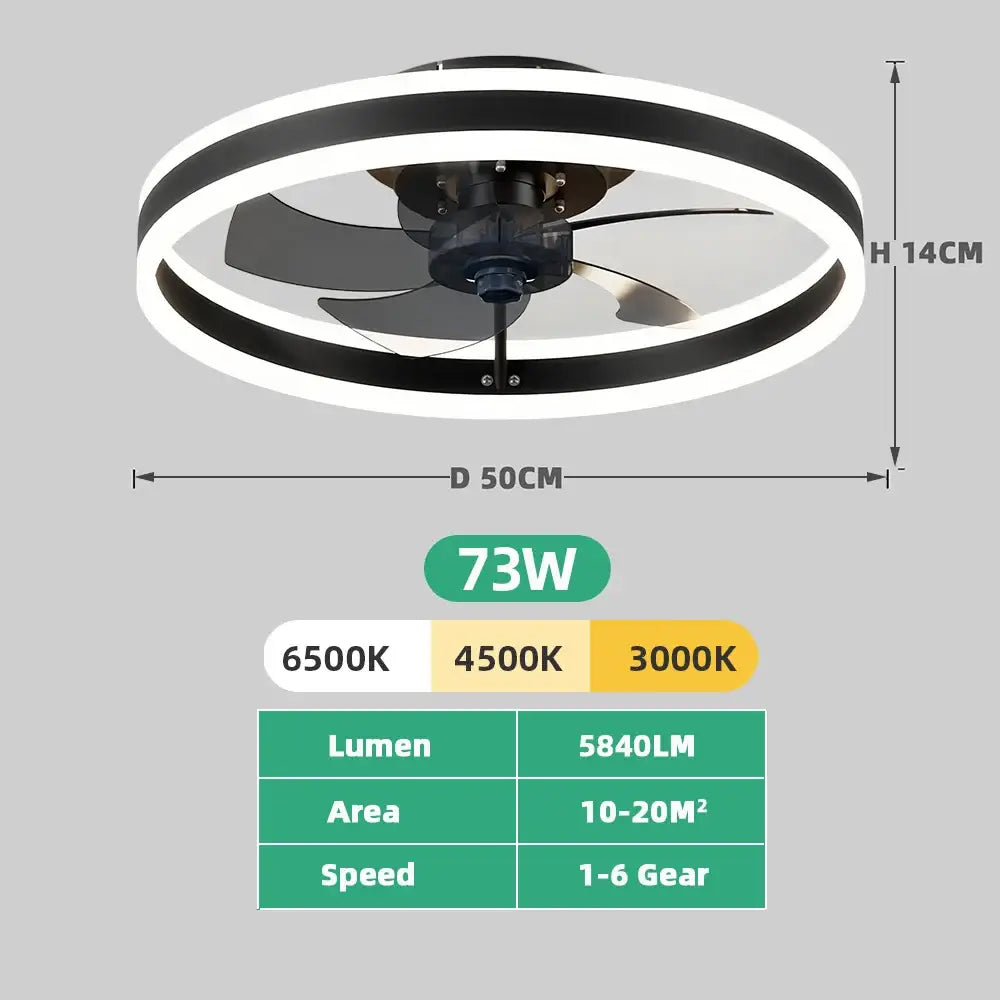
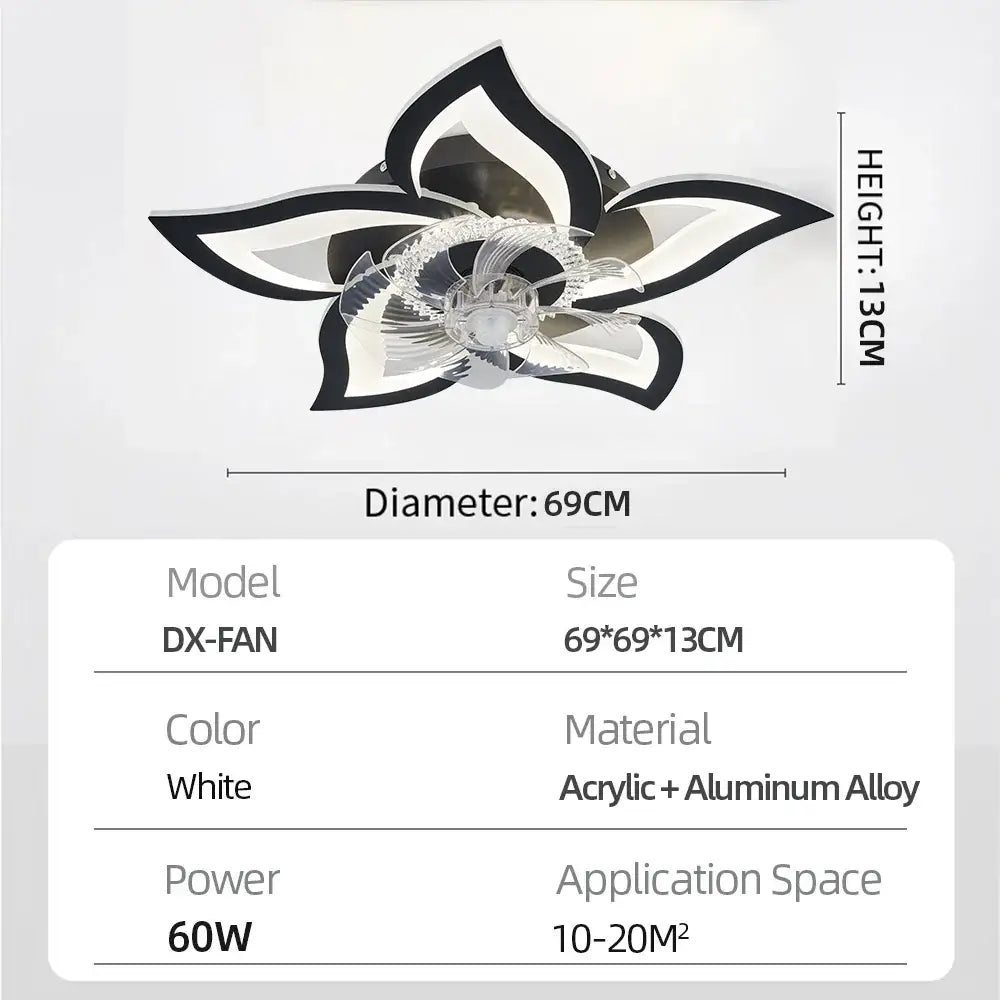
How to install a ceiling fan? A simple step-by-step guide
Installing a ceiling fan may seem complicated, but with the right tools and method, it is accessible. Whether to cool a room, improve air circulation, or reduce air conditioning use, knowing how to properly install a ceiling fan is essential.

In this guide, we will go over the main assembly steps based on the model's installation manual.
Why install a ceiling fan?
Before seeing how to install a ceiling fan, it's important to know why it's an excellent choice:
✅ better air circulation
✅ immediate feeling of freshness
✅ low consumption
✅ quieter than a conventional fan
✅ ideal in summer and winter (reverse rotation)
Equipment needed to install a ceiling fan
Before you begin, prepare:
- Phillips screwdriver
- wire strippers
- stepladder
- insulating tape
- drill
- suitable ceiling anchors
The manual also states that the fan comes with its remote control, screws, and mounting bracket.
Step 1: Turn off the power

Very important.
Before any handling:
- turn off the circuit breaker
- check that no current is flowing
This is the first safety rule before installing a ceiling fan.
Step 2: Attach the mounting plate to the ceiling

The circular bracket must be removed from the fan and then attached to the ceiling.
Depending on your ceiling:
Wooden ceiling
- drill a pilot hole
- screw in with the provided wood screws
Concrete ceiling
- use a hammer drill
- insert expansion anchors
This step is essential to ensure stability. The manual recommends 4 fastening points.
Step 3: Prepare the wiring

Temporarily hang the fan from the safety hook.
This allows you to:
- keep your hands free
- connect the wires more easily
Standard connections:
- black = live
- white = neutral
Always respect the wiring colors.
Step 4: Connect the wires

The remote control receiver must be placed in the fan's upper compartment.
Then:
- connect the wires
- secure with insulating tape
The manual advises securely fastening the casing to prevent any internal movement.
Step 5: Attach the fan to the ceiling

Once the connections are made:
- align the fan with the plate
- properly interlock
- tighten the side screws
Be careful not to pinch the cables.
Step 6: Test the fan

Restore power.
Test:
- power on
- speeds
- LED light
- remote control
- reverse rotation
The manual's model offers:
- 6 speeds
- 1h / 2h timer
- reverse mode
- adjustable light.
Tips for properly installing a ceiling fan
For best performance:
- center it in the room
- leave at least 2.30 m of height
- avoid close obstacles
- clean the blades regularly
Good positioning significantly improves cooling.
Conclusion
Knowing how to install a ceiling fan quickly improves the thermal comfort of your home. With proper installation, you benefit from better air distribution, a more pleasant room, and much lower consumption than air conditioning.
If you are looking for a practical model with LED light, remote control, and multiple speeds, a modern ceiling fan can be an excellent solution for dealing with high temperatures.