How to fix plasterboard rails yourself on concrete (simple and quick guide)
Partition · Layout · Fasteners
When fixing drywall tracks to concrete, the first question is not “drill or nailer?”, but “what kind of substrate am I actually fixing into?”. Proper layout and appropriate fasteners prevent moving frames, deformed tracks, or drilling in the wrong place.
The key method: identify the substrate and utility lines, mark the layout on the floor and ceiling, choose the fasteners intended for the partition system, and then install the tracks without deforming them. Point spacing and hole depth should be taken from manufacturer documents, not an improvised rule.
This guide concerns tracks for a non-load-bearing interior partition. It does not constitute sizing for a partition, suspended ceiling, or structural work.
1. Verify what is underneath the track
A surface that looks like mineral is not necessarily a solid concrete slab accessible for fixing. You may have tile, a screed, an insulating layer, underfloor heating, or a specific flooring system. The track must be compatible with this composition and with the partition specifications.
| Substrate encountered | What to check |
|---|---|
| Identified solid concrete | Condition of the substrate, permitted fixing, available depth, edge distances, and presence of utility lines. |
| Screed, insulation, or floating floor | Floor composition and planned fixing solution. Do not assume the visible layer is sufficient for anchoring. |
| Underfloor heating or unknown utilities | Plans, mapping, and validated method before any through-fixing. |
| False ceiling or hollow substrate | Nature of the upper substrate and partition connection detail. The floor method does not automatically apply. |
Consult available plans and perform an appropriate scan. A detector can help, but a lack of signal does not guarantee that no cables or pipes pass through the area. If the floor is prestressed, if you do not know the areas where you can drill, or if an old material is suspicious, ask for technical validation before continuing.
In the presence of underfloor heating: do not drill "shallow just to try." Adhesive or a nailer are not universal replacements either. The solution must be compatible with the floor and accepted for your partition system.
2. Choose tracks, fasteners, and their spacing
Tracks and studs belonging to the right system
Choose a track width compatible with the studs and the planned partition: height, cladding, insulation, any doors, and expected performance. The presence of plasterboard is not enough to automatically deduce the type of frame to install.
Fastener chosen for the actual substrate
On certain identified concrete, a hammer-in anchor or another appropriate mechanical fastener can be used, if the partition and fastener specifications allow it. Check the hole diameter, anchorage depth, thickness to be crossed, and minimum edge distances.
There is no "6 × 40" dimension to apply everywhere. The documentation for Fischer N-S hammer-in anchors specifically illustrates that installation parameters depend on the variant and substrate. This example does not mandate this range for all job sites.
How many centimeters between fasteners?
In its Placostil assembly guide, Placo indicates a maximum spacing of 60 cm for track fasteners in the cases of finished floors and structural floor undersides presented. This is a reference linked to that implementation, not a general authorization for all partitions.
Check the document corresponding to your system, especially for ends, joints, and openings. The spacing of track fasteners and that of the studs are two different things. Do not copy one to decide on the other.
Finally, prepare your tape measure, pencil or chalk line, a means of checking plumb, the tool for cutting the profiles, the appropriate fasteners and consumables, as well as necessary protective gear. Resilient tape and sealing provisions are chosen according to the system and the room.
Manuzen Selection · Preparing the right moves
Marking, drilling, limiting debris: three complementary aids
These pieces of equipment can facilitate installation. They do not replace the choice of anchors and tracks, nor the verification of the substrate. A level and tools you already own may also be suitable.

Transferring marks
Green line laser level. To materialize axes and check the alignment of the layout. Check its accuracy before the work begins and choose the variant with or without a tripod according to your equipment.
See the laser level →
Drilling compatible concrete
Worx WU380S SDS Plus hammer drill. To be used with a concrete drill bit adapted to the prescribed hole. Two packs are offered: with battery and charger, or tool only. Check the chosen content.
Compare drill packs →
Collecting debris
Worx WA1602 collector. A collection accessory for around the drilling point, subject to compatibility with the position and drill bit. Select the illustrated WA1602 variant.
Discover the collector →Dust: the consulted collector sheet does not document silica protection certification. It does not replace vacuuming and protections adapted to the risk. Tracks, fasteners, bits, and other consumables must be chosen separately according to the job site.
3. Installing tracks: the six-step method
Step 1 — Prepare a safe work area
Clear the path, protect neighboring surfaces, and confirm substrate mapping. Use goggles, hearing protection for drilling, and protections adapted for dust. For overhead work, use an appropriate stable platform, not a chair.
Concrete drilling can produce hazardous dust. The INRS warns about the risks linked to crystalline silica. Organize collection at the source with appropriate equipment; a visually clean job site does not prove the absence of fine respirable dust.
Step 2 — Mark the correct side of the partition
Locate the position of the finished partition, then that of its frame, taking into account the boards and finishes. Mark returns and any openings before laying the tracks: following a line without knowing which face it corresponds to can shift the entire partition.
Then transfer the marks to the ceiling using an appropriate control means, then check the plumb and consistency with the walls. The laser facilitates transfer but does not decide the correct dimension or the squareness of the room for you.
Step 3 — Cut and position the profiles
Cut the tracks with a tool designed for metal profiles. Protect your hands when handling sharp edges and remove accessible burrs. Mock up the elements, with the tape or provisions planned by the system, and check the joints.
Mark the fixing points according to the chosen documentation, without improvising edge distances. Check one last time that no planned drilling falls into a prohibited or uncertain area.
Step 4 — Drill only with the correct parameters
On the previously validated substrate, use the type of drill bit, diameter, and depth prescribed for the fastener. Adjust the depth stop and tool mode according to the material and instructions. Hold the tool in accordance with its instructions and arrange for dust collection at the drilling point.
If you encounter reinforcement, an unexpected void, or abnormal resistance, stop: do not drill through "to finish the hole." Clean the holes according to the fastener instructions, without dispersing dust into the room. The drilling dust capture solutions described by Bosch show why the accessory must be adapted to the tool and the application.
Step 5 — Fix the track without crushing it
Install the fasteners according to their installation procedure: a hammer-in anchor, a concrete screw, and another mechanical fastener are not installed in the same way. Check the track bearing and avoid deforming it through excessive tightening or impact.
A fastener that spins in a void, a crumbling substrate, or a hole that is too large are defects that must be resolved. Do not mask them by adding just any screw right next to them. Re-evaluate the choice or location in accordance with the fastener instructions.
Step 6 — Handle the top track and check everything
Fixing the top track depends on its actual substrate and the planned connection detail. Do not automatically reuse floor anchors on a false ceiling or a different floor. Also respect any movement provisions planned by the system.
Check track alignment, plumb, openings, and lack of play. Mock up a stud to confirm compatibility and geometry before continuing with the frame and cladding according to the partition documentation.
4. Errors that waste time
Confusing the screed with the anchor substrate. Verify the composition rather than choosing the anchor based on the floor's appearance.
Fixing before checking doors and finished thickness. A track well-aligned on the wrong line remains in the wrong place.
Using too few fasteners or tightening them too much. Good holding comes from the appropriate fastener and its correct installation, not from a crushed track.
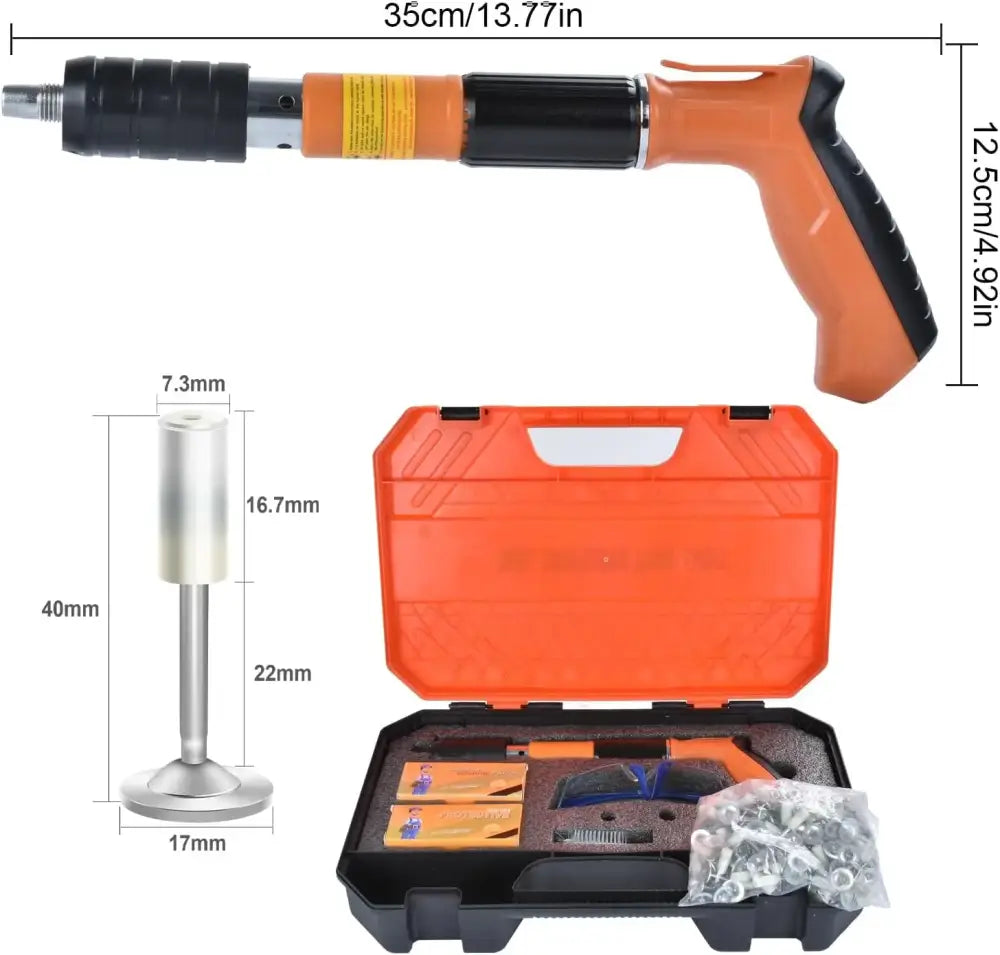
Presenting the nailer as a universal solution. Direct fastening may be suitable for certain systems, but only with a tool, fastener, and substrate set that is expressly compatible, while respecting the instructions and necessary skills.
Before closing the partition: check the substrate, fixing points, alignment, openings, acoustic or sealing provisions, and the absence of visible defects. A doubt about the holding or a utility line must be resolved now, not after the boards are installed.
Frequently asked questions
Can tracks be fixed without a drill?
In some cases, a direct fastening system or another approved solution may be planned. It is not automatic. The substrate, fasteners, and system specifications must authorize this method. A nailer should not be used to bypass the lack of mapping for utility lines.
Should tracks be fixed every 40 or 60 cm?
Follow your partition documentation. The Placostil guide cited indicates a maximum of 60 cm for the described cases, but joints, ends, and special situations must also respect their specifications. Do not confuse this spacing with stud spacing.
Which anchor should be used for an R48 track on concrete?
The R48 width is not enough to choose the anchor. You must know the concrete, the thickness crossed, the available anchorage depth, substrate constraints, and partition specifications. Check for a fastener whose documentation actually covers this case.
Can you drill through tile to fix a track?
Tile is a covering, not an answer regarding the substrate beneath it. Identify all layers and utility lines, then adopt a method compatible with the covering, anchoring, and partition system. Do not automatically start with impact/hammer mode on tile.
Is a small dust collector enough?
Not to conclude that dust exposure is controlled. Its effectiveness depends on the application and design. For concrete, choose a capture device and protections adapted to the fine dust risk; do not assume that a consumer accessory has undocumented certification.
Is the top track fixed like the floor track?
Only if the partition documentation and the fastener documentation allow it for that substrate. An underside of a slab, a framed ceiling, and a hollow substrate are not automatically handled the same way.
Sources and scope
References consulted: Placostil assembly guide by Placo; Fischer N-S documentation for fastener parameters; INRS on silica; Bosch on drilling dust capture. Links appear in the relevant paragraphs. Product characteristics offered come from Manuzen sheets. Partition system and fastener manuals remain the priority for your job site.